Railway
Guide to deploy LogChimp on Railway
There are many ways to install LogChimp. With Railway, you can get started with just a few easy steps. Click the button1, and hit deploy. It's that simple.
Warning
You will need to set-up SMTP configuration to let your users get emails to reset password, account verification, notifications and more.

All the environment variables are pre-configured for you. You can learn more about them here.
And there you go... 🚄, you should be able to access LogChimp at http://localhost:3000.
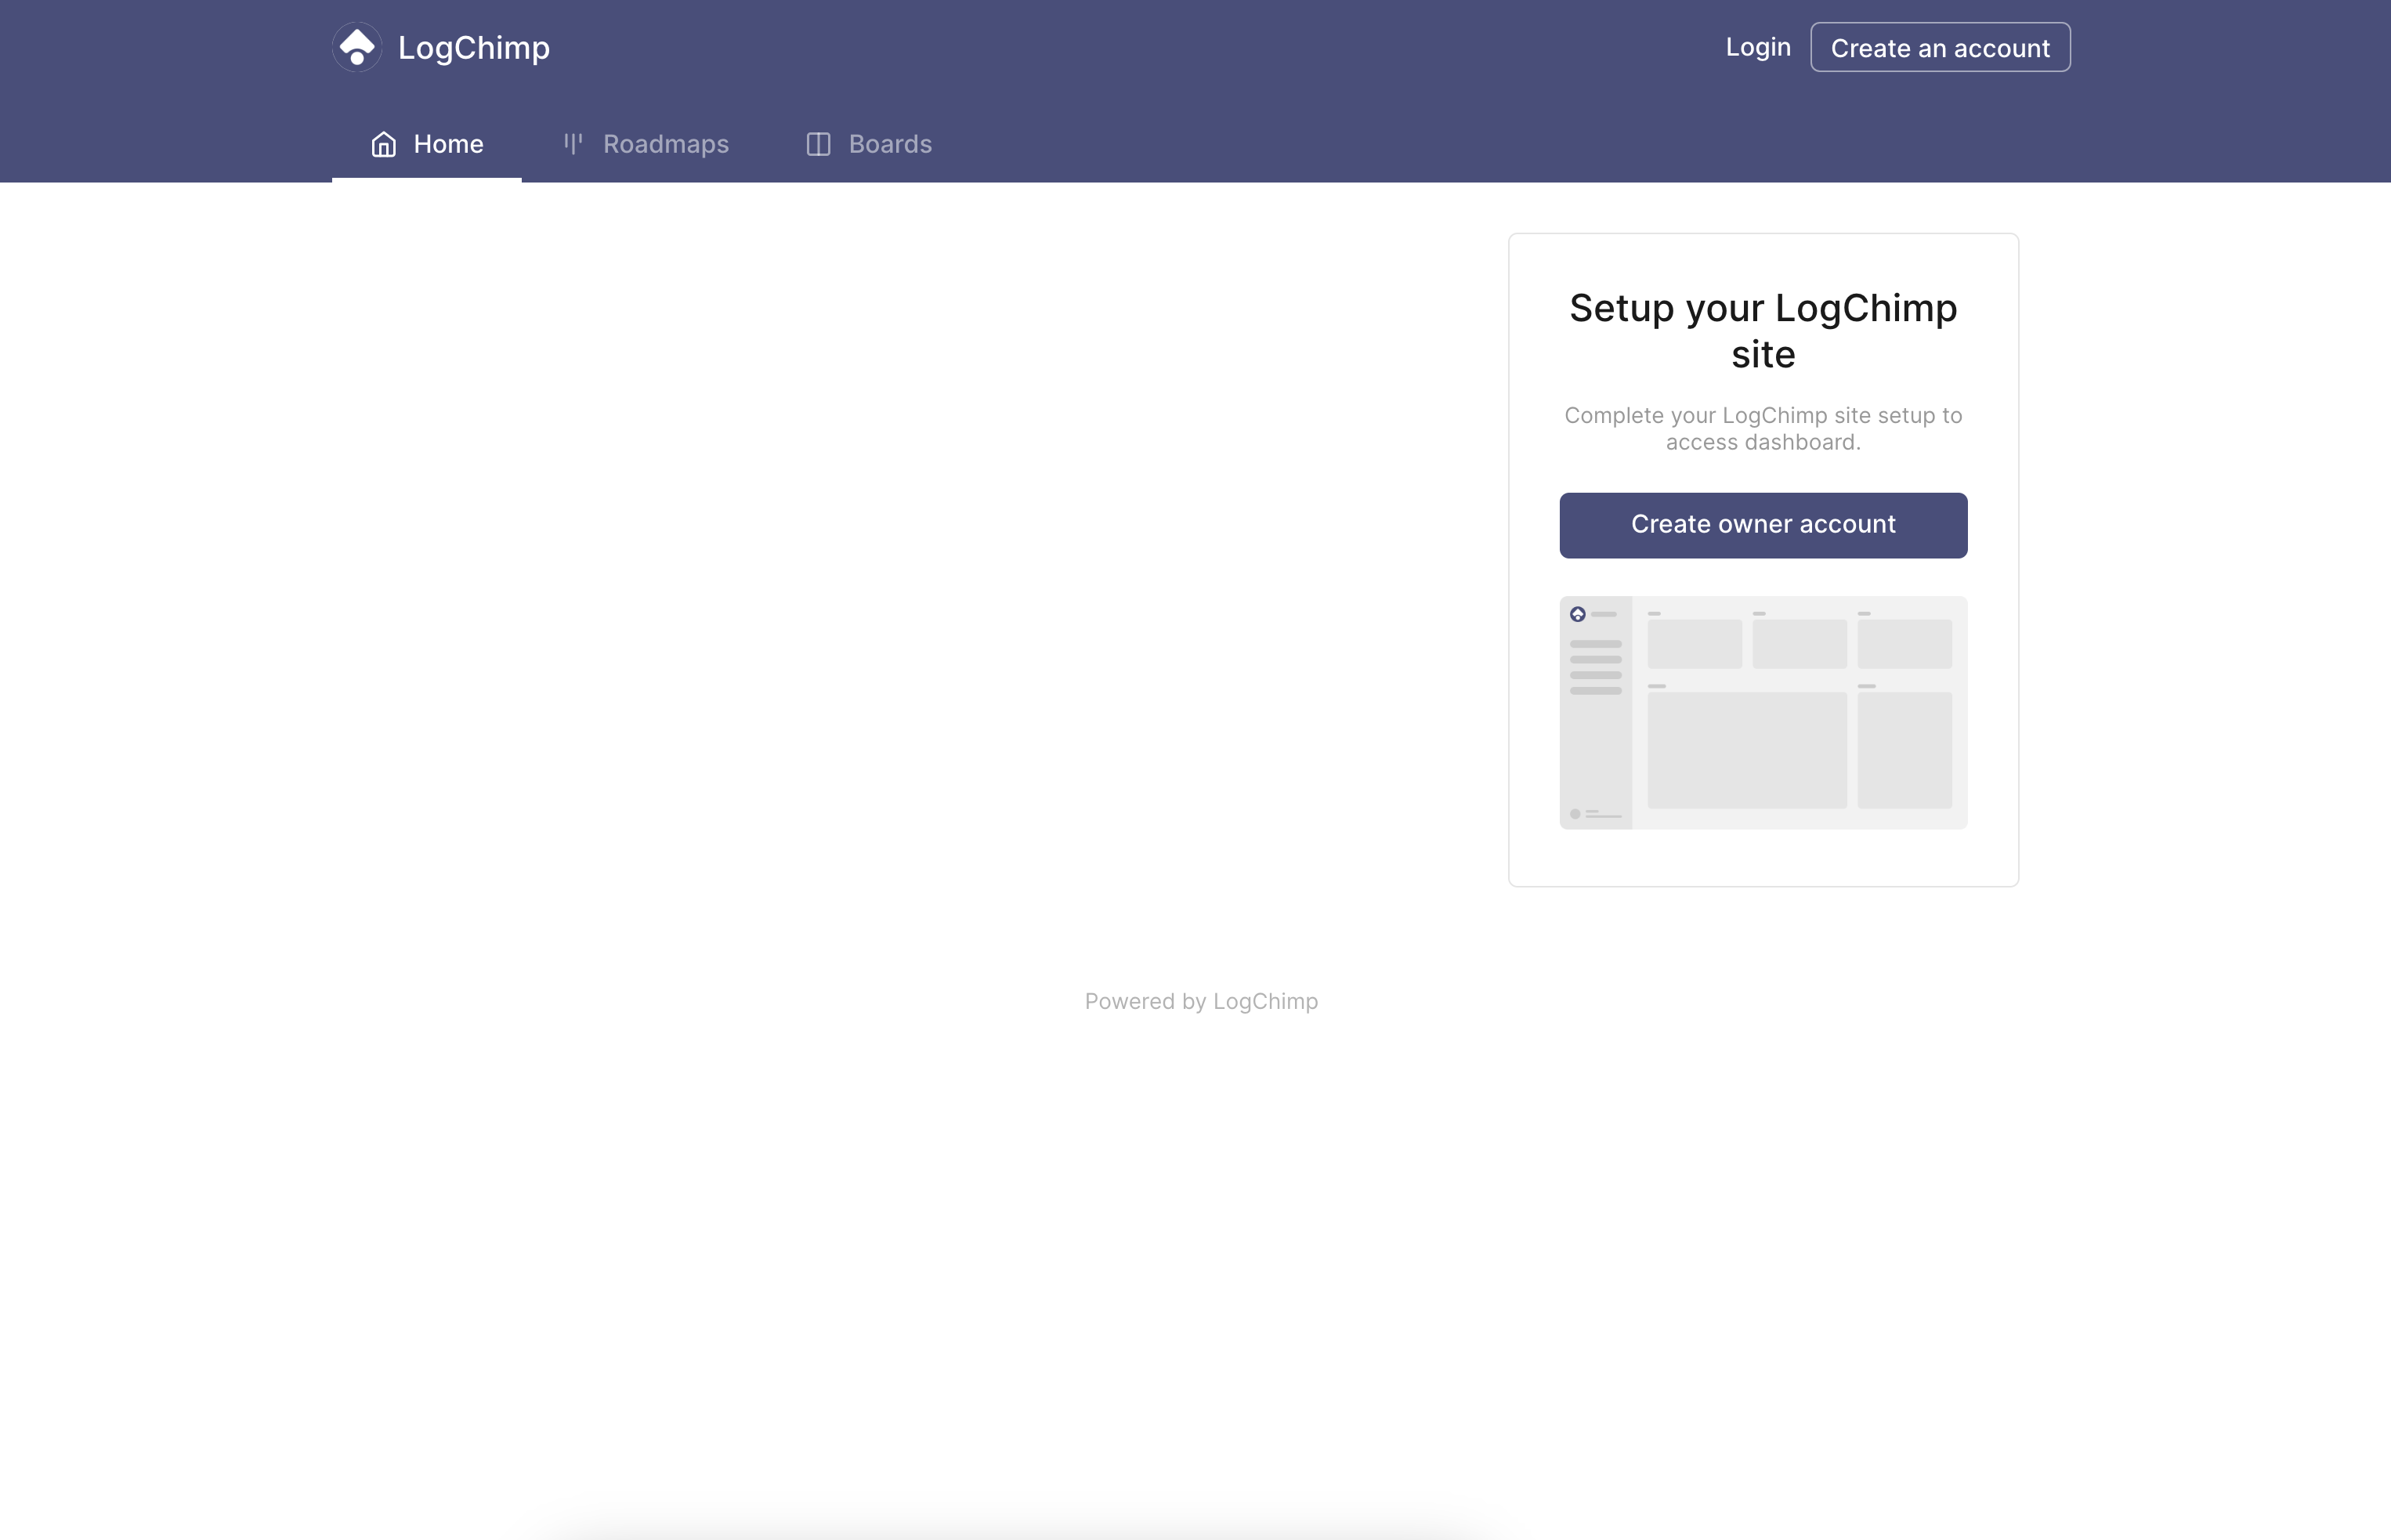
Your LogChimp site is ready to accept your customers' feedback with ease. 🎉
Behind the scenes
This template will auto-provision the following services for you:
- PostgreSQL database
- LogChimp API service
- LogChimp Theme service
You can always customize the secret keys and other environment variables.
Railway provides an easy way to generate a 32-character secret key by pressing Command + K (on MacOS) or Ctrl + K (on Windows). Of course, you can provide your own secret key as well.

Next Steps
Congrats on successfully installing LogChimp.
Phew! That was a lot of work! Let's move to next step.
Onboarding setup
Setting up your LogChimp site, by creating an owner account.
Learn LogChimp
Learn how to use LogChimp.
API Reference
Connect your application with LogChimp.
Footnotes
-
The above link contains a referral code which gives referral credits to @mittalyashu. ↩